One Hour Garlic Herb Dinner Rolls
This post may contain affiliate links. Please check our privacy and disclosure policy.
Soft and fluffy garlic herb dinner rolls delivered in one hour. I brush these with a garlic and herb butter when they’re hot out of the oven and they’re perfect to serve with all your holiday meals and yet easy enough for weeknights!
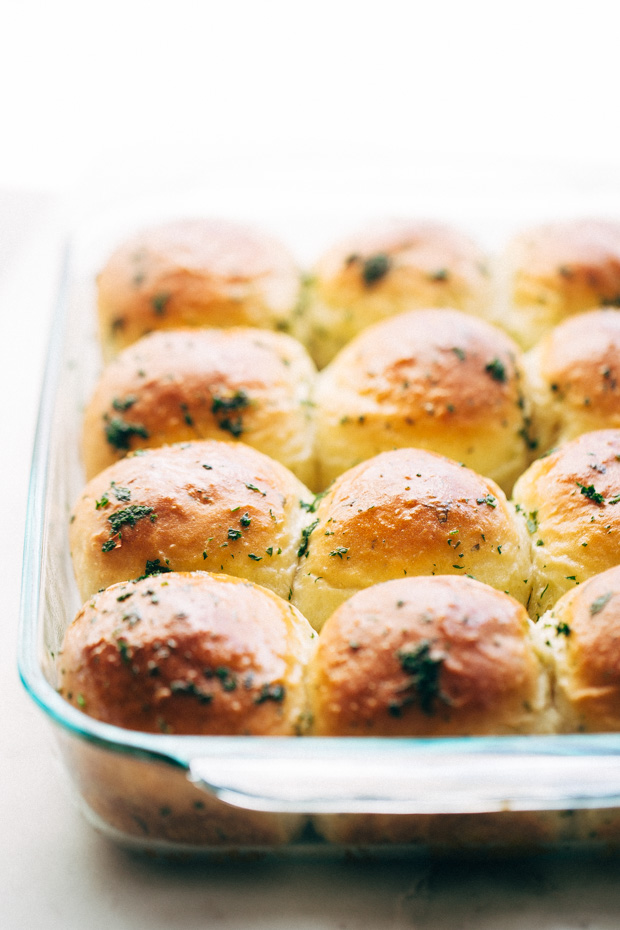 On Fridays we eat carbs. ????
Anyone else immediately think of Regina George and the Mean Girls?
It’s been another hectic week around here and though the weekend is just around the corner, there’s still tons to get done. So much goodness is in store and i’m just so so so excited for all the wonderful things to come! And to be honest, these garlic herb dinner rolls are giving me life right now. Carbs are my fwends.
Too often I find myself back in the kitchen heating up these easy breezy rolls and gobbling them up. Someone take me away from these, they’re so damn addicting. I took a few over to my parents place and they couldn’t believe I made them. The response was exactly what I was hoping for. They loved how soft and fluffy and perfectly tender these dinner rolls were.
This recipe is a new spin on an old favorite. We’re taking my basic one hour dinner rolls recipe and amping it up in the best way possible — with herbs and garlic.
Tell me you live for garlic-and-herb-everything the way I do.
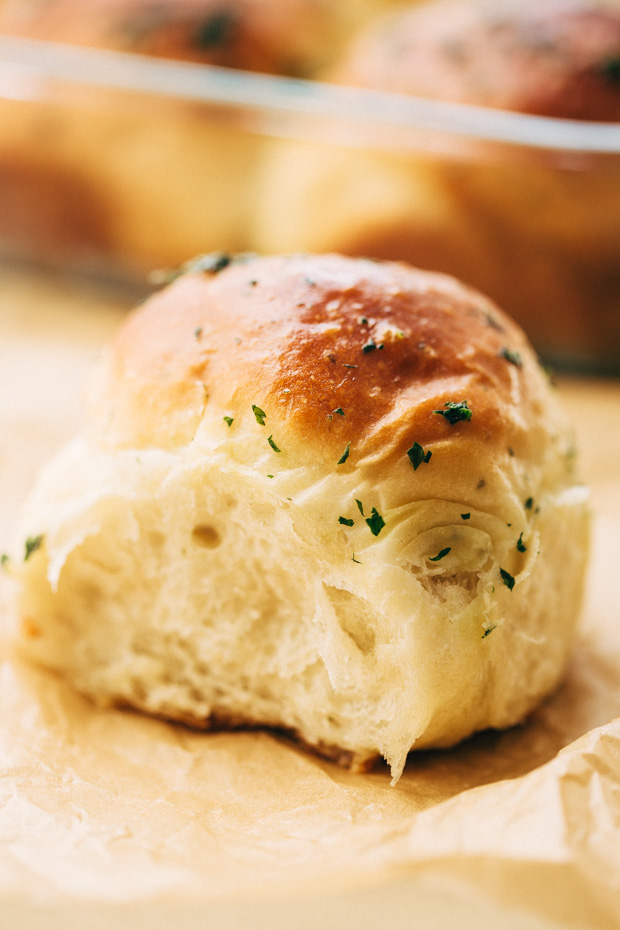 These garlic herb dinner rolls are absolutely perfect for the holidays for 2 reasons. 1.) they take just an hour to make. 2.) they’re a little more ‘fancy’ than your basic dinner roll recipe. And if you’re ever gonna be fancy with your food, you know it’s usually during the holidays!
You can call these amish rolls or potato rolls but the fact of the matter is that my homemade dinner rolls almost always contain one ingredient that gives them that tenderness for dayssss. Have you guessed it yet? It’s instant potato flakes. Don’t worry, you can’t even tell that they’re there! They just add the most luxuriously sweet, creamy taste and make anything you add them to instantly better. See what I did there. I’m a dork, I know! But i’m telling you, once you make these rolls, you’ll never enjoy them any other way!
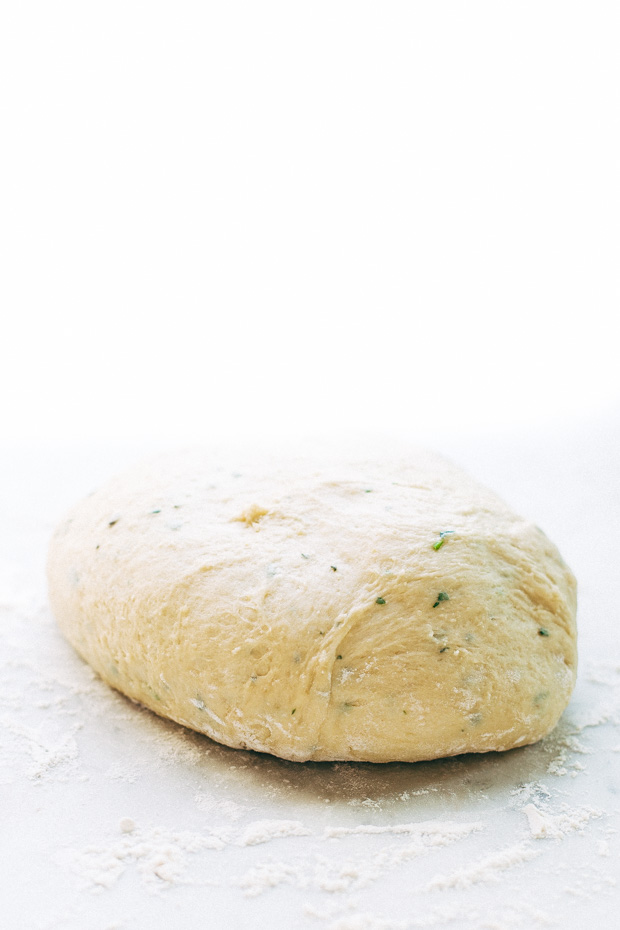
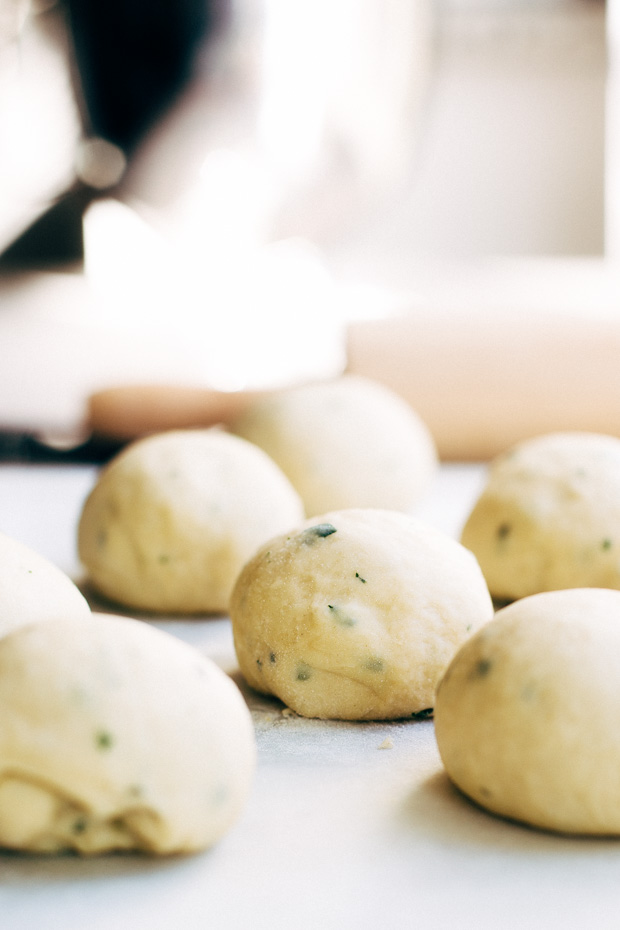 I know making bread or homemade dinner rolls isn’t always easy to do, in fact it can be quite daunting if you haven’t done it before. This recipe is one of the ones that are a little more simple. Just make sure you read through the instructions before starting. That way you know exactly what comes next.
This all starts with a little butter, milk and water. You’ll heat them together in a microwave safe bowl for 1 minute. Now continue to heat until it reaches 110-115ºF in 10-15 second intervals. If it’s hot when you stick your finger in it, just let it cool for a few minutes! We warm the liquids to that perfect temperature so that they instantly start activating the yeast. I’ll talk more about that in a minute. A note about the milk: I highly recommend using whole milk or 2% for this recipe. Though 1% or fat free will work, it won’t provide that richness that dinner rolls need.
Once you’ve got your liquids warmed up, we’ll add the flour, potato flakes, yeast, sugar, salt, garlic, and herbs to the bowl of a stand mixer. If you don’t have a stand mixer, you can easily mix this together with a hand mixer. Regardless of which you use, just be sure to use the dough hook attachment. Add the liquids into the mixer while it’s on the ‘stir’ setting. Follow it up with one egg.
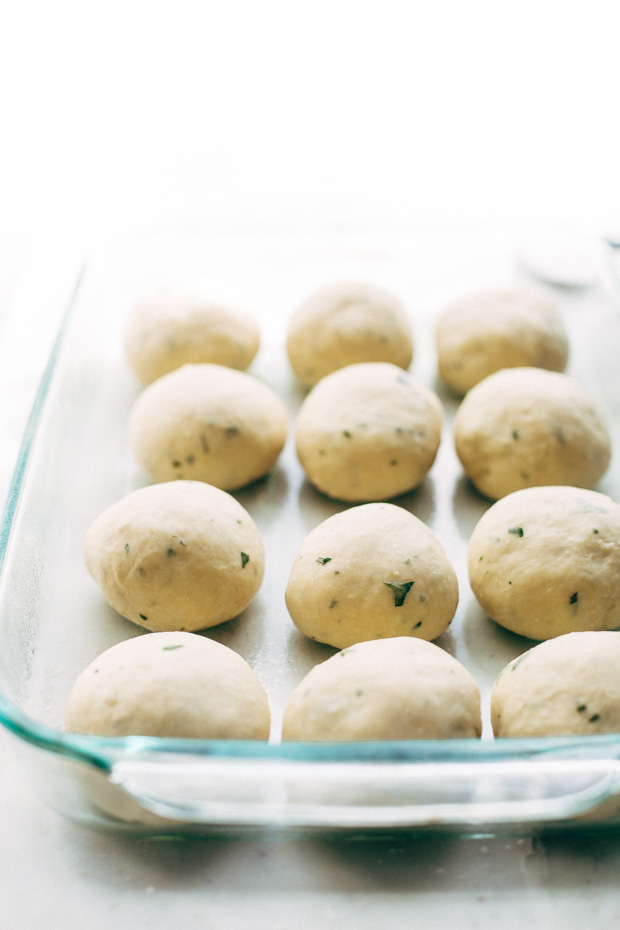 Now just let the mixer mix everything for 4-5 minutes. Your dough should start pulling away from the sides of the bowl within 1-2 minutes. If it doesn’t, you’ll need a little more flour. This really depends on where you live and the weather. I find sometimes I need an additional ½ cup to get the dough together and sometimes (like this time), I don’t need any flour at all. Since it’s pretty humid in Houston year round, I can safely say, you shouldn’t need more than that additional ½ cup to bring this dough together. That’s about it for the dough! Cover it up with plastic wrap and just let it sit for 10 minutes while you preheat the oven to 180ºF and prep your baking pan.
Divide the dough into 12 equal pieces for jumbo rolls or 16 for slightly smaller ones. See how quick and easy that was? You’re done with the first rise and the second rise will happen in the oven. Be sure to brush the dough with a bit of water so the rolls don’t dry out in the oven. Pop them in and sit back for 20 minutes. You’ll notice they plump up a bit during this rise.
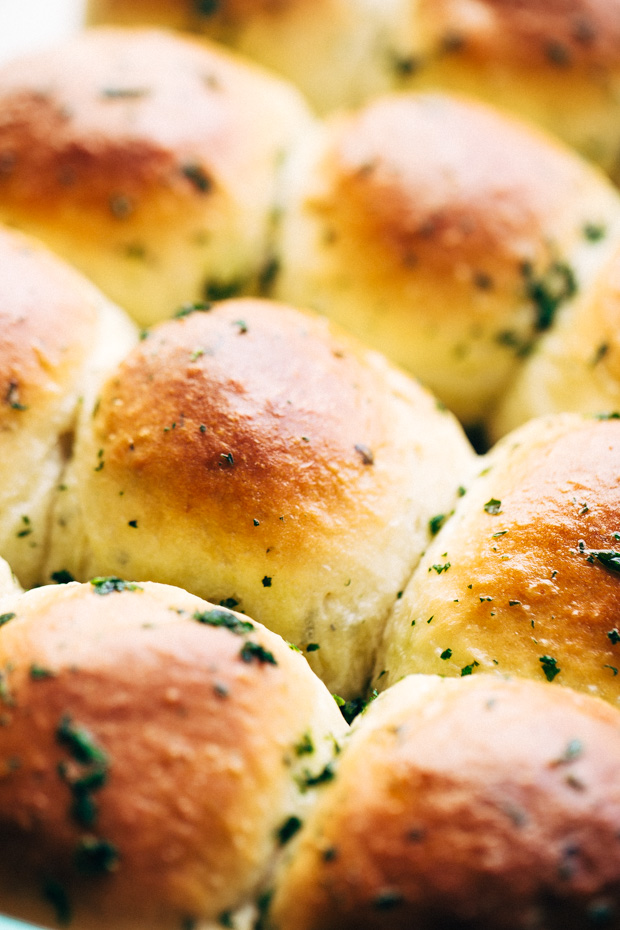 Pull the baking pan out of the one and now preheat your oven to 375ºF. Allow the garlic herb dinner rolls to just rest on the counter while your oven preheats. They’ll take about 18-22 minutes in the oven to bake. While they’re baking, we’ll make that garlic butter.
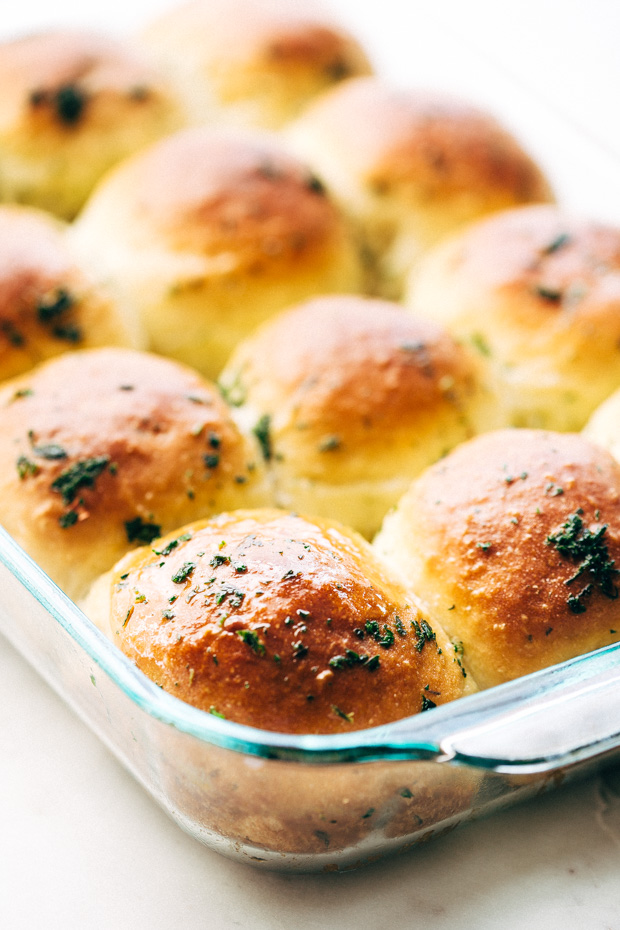
For the garlic herb butter you’ll need 2 tablespoons of butter and 1-2 cloves of garlic. You can use minced garlic for a more pronounced garlic flavor or just smash the garlic so you can pull them out for less. The key is to allow the butter to melt with the garlic in a saucepan so the garlic flavor infuses into the butter. Add in additional parsley and stir to combine. Brush the garlic herb rolls with the butter when they’re hot out of the oven. You can hear the butter sizzling and sealing all that garlicky goodness onto the rolls.
 And finally, a few things to keep in mind:
- It’s important to make sure your liquids are 110-115ºF. Like really, really important. If it’s too hot, just let it sit out for a few minutes until it’s just warm to the touch. You don’t want to add it in until it’s the right temperature. Adding in hot liquid will cause the yeast to die and the dough won’t rise.
- Adding in liquids that are too cold or <110ºF means that the yeast won’t activate and we really don’t want that either.
- This recipe calls for rapid-rise yeast or sometimes called ‘instant’ yeast. This is what allows us to produce these dinner rolls in one hour. Make sure your packet isn’t marked ‘active dry yeast’, this type of yeast will require longer proofing time.
- Lastly, make sure to check the expiration date on your packet or jar of yeast before starting. Sometimes, it’s something as small as that that causes the recipe to produce mediocre results.
Woah, that was a long post! I totally did not mean for it to be this way. But I did want to make sure I crammed all the information into one post so that you have tons of success with this simple garlic herb dinner roll recipe. No more dinner rolls out of a tube, please!
You can do this, I know you can!
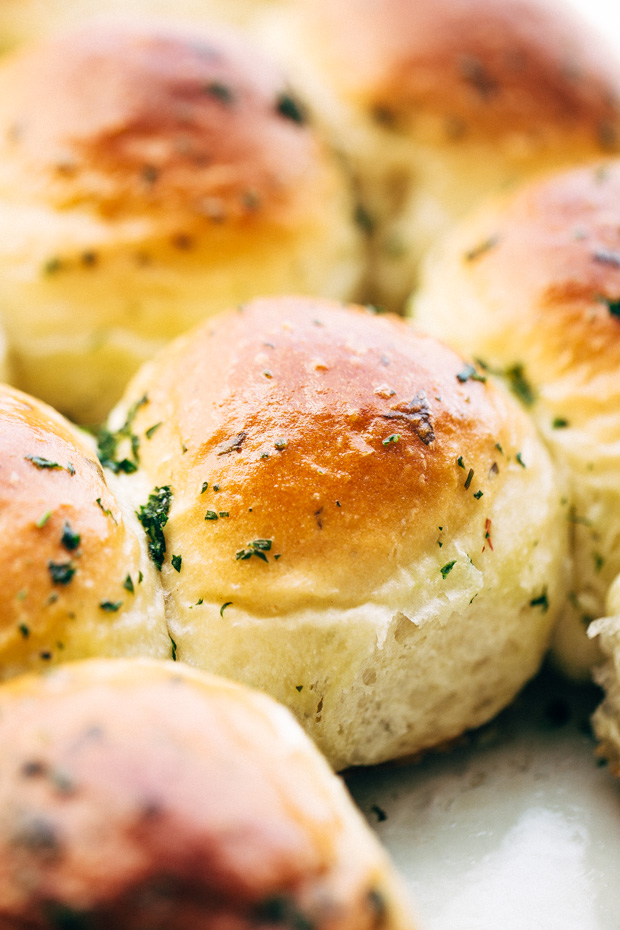
One Hour Garlic Herb Dinner Rolls
Soft and fluffy garlic herb dinner rolls delivered in one hour. I brush these with a garlic and herb butter when they're hot out of the oven and they're perfect to serve with all your holiday meals and yet easy enough for weeknights!

Ingredients
- 6 tablespoons butter, divided
- ¾ cup whole milk (2% will also work)
- ½ cup water
- 4 - 4 ½ cups all-purpose flour, plus more for dusting
- ¼ cup instant potato flakes (see note)
- 1 tablespoon rapid-rise yeast (see note)
- ¼ cup granulated sugar
- 1 ½ teaspoon salt
- 2 teaspoons garlic powder
- 1 tablespoon fresh chopped rosemary (use ½ quantity if dry)
- 3 tablespoons fresh chopped parsley, divided (use ½ quantity if dry)
- 1 large egg, room temperature
- 1-2 cloves garlic, whole or minced (see notes)
Instructions
- Place 4 tablespoons of butter, milk, and water in a 2 cup microwave-safe measuring cup. Heat on high for 1 minute. The milk mixture should be warm to the touch, about 110-115ºF. Continue to heat in 10-15 second intervals until the milk mixture reaches that temperature. If it's too hot, just let it cool.
- In the bowl of an electric mixer fitted with the dough-hook attachment, add 4 cups of flour, potato flakes, yeast, sugar, salt, garlic powder, rosemary, and 2 tablespoons of parsley and just stir to combine.
- Start the machine on the 'stir' setting and slowly stream in the warm milk mixture and the egg. When combined, increase the speed of the mixer to medium-low and allow the mixer to run for 4-5 minutes. After the first 1-2 minutes the dough should start pulling away from the sides of the bowl, if it doesn't add an additional ¼ cup of flour and let the mixer run for another minute, if the dough still hasn't formed into a ball, add the remaining ¼ cup of flour. You may or may not need to add the additional flour. I didn't.
- Remove the dough from the hook, cover the bowl with plastic wrap and allow the dough to rest for 10 minutes. While the dough is rising, position a rack in the center of the oven and preheat the oven to 180ºF. Spray a 9x13 baking dish with cooking spray, set aside.
- Turn the dough out onto a lightly floured work surface. With a floured rolling pin, roll the dough out into a 15-inch circle. Using a pizza cutter dipped in flour, cut the dough into 12 or 16 equal pieces. You can weigh the dough to make it more accurate but I usually just eyeball it. Fold the seams in and roll into a smooth ball. Place the dough seam side down into the prepared baking dish. Repeat with the remaining dough.
- Using a pastry brush, brush water on the tops of the rolls so they don't dry out in the oven. Turn the oven OFF and place the baking dish in the oven. Allow the dough to rise for 20 minutes. DO NOT OPEN THE OVEN DOOR UNTIL THE 20 MINUTES ARE UP.
- Remove the baking dish from the oven and place on the counter while you preheat the oven to 375ºF. Bake the dinner rolls for 18-22 minutes or until the tops are nice and golden. Baking time will be slightly shorter if you made them into 16 rolls (around 14-18 minutes). Prepare the garlic butter sauce (step #8) in the last 5-7 minutes while the rolls are still in the oven.
- In a small saucepan, combine the garlic and the remaining 2 tablespoons of butter, heat over medium heat. When the butter melts and you can smell the garlic, add the remaining tablespoon of chopped parsley. Add a pinch of salt and stir. Brush the tops of the prepared rolls with garlic butter mixture. Serve warm.
Notes
- Make sure to use instant dry potato flakes for this recipe. You can use the garlic variety if you want to add more garlicky goodness in too!
- Rapid-rise yeast is also known as 'instant' yeast. If you use active dry yeast, note that the proofing times will be significantly longer. For best results, I suggest following the recipe exactly as written.
- For the garlic butter - use whole cloves of garlic for less intense garlic flavor or mince the garlic for a more robust dinner roll experience.

If you like this recipe, you might also like: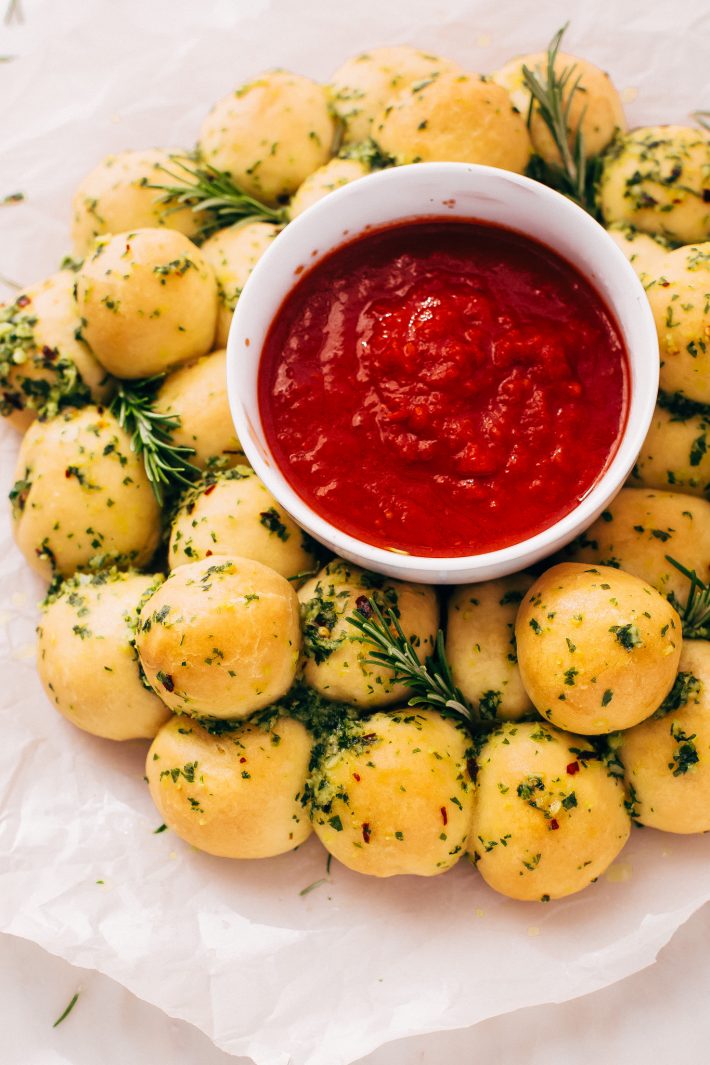
Easy Pull Apart Garlic Roll Wreath
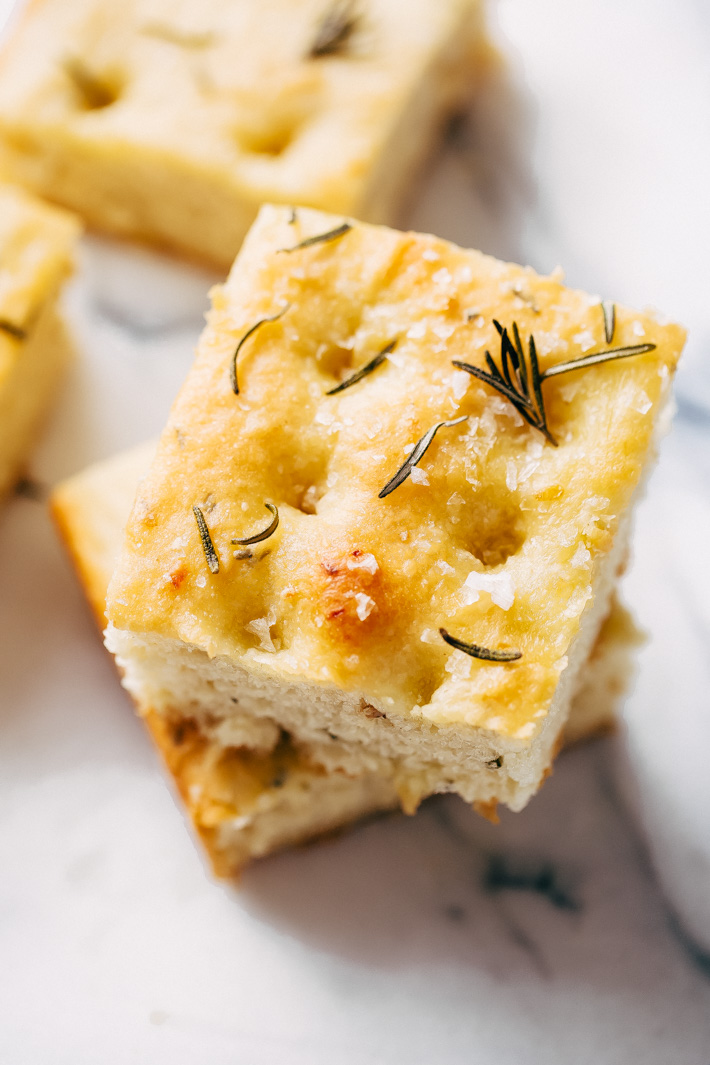
roasted garlic rosemary focaccia bread
We are a participant in both the RewardStyle and Amazon Services LLC Associates Program, which are affiliate advertising programs designed to provide a means for sites to earn advertising fees by advertising and linking to amazon.com and through RewardStyle.



17 Comments on “One Hour Garlic Herb Dinner Rolls”
Great recipe and my dinner club loved the rolls!
They were quick and easy, and a great addition to the meal. I did notice a couple of typos in the directions.
Thanks again for the recipe, and hope you don’t mind the error mentions!
I could eat that kind of rolls every day. Great recipe.
These were incredible!! My whole family loved them and we’ll be making again and again!! Thank you for the recipe.
That’s great Misty! Glad to hear you all enjoyed them! 🙂
Could I mix this in a bread machine since I don’t have an electronic mixer?
Yup, think that should work just fine, Rebecca.
Can I use fresh mashed potatoes instread of dry instant mash?
I’ve never tried that Shelly, so i’m really not sure.
Any substitute if potato flakes isn’t available? Thanks! 😉
It’s hard to say without further recipe testing.
This looks yum!!!
Can i leave out the potato flakes? I’m not sure it’s available where I live. Is it the same as a mashed potato mix?
Yes, it’s the same thing as mashed potato mix.
I absolutely loved the flavors of these rolls….so yum! Do you think bread flour can be substituted for the all purpose flour?
For this recipe, and a wonderful one too, I used a gluten free flour in equal parts and my bread maker. It turned out beautifully, soft, tasty, and so buttery. I like the potato flakes, I did use a bit more than it called for, the taste reminds me of my grandmother’s potato rolls she’d make when I was young. Thank you.
So glad to hear they were enjoyed! Thanks for commenting! 🙂
Thanks for this great recipe! Can I refrigerate my dough overnight and bake the next day? Or should I only bake when fresh?
Yes, I think you can refrigerate it overnight. I would do so after step #5. Allow it to come to room temperature for at least an 30-45 minutes and then proceed to step #6 where you’ll let it proof a second time in a warm oven.